On Saturday 16 December we had the pleasure of being visited by a professional brewer and brewery engineer.
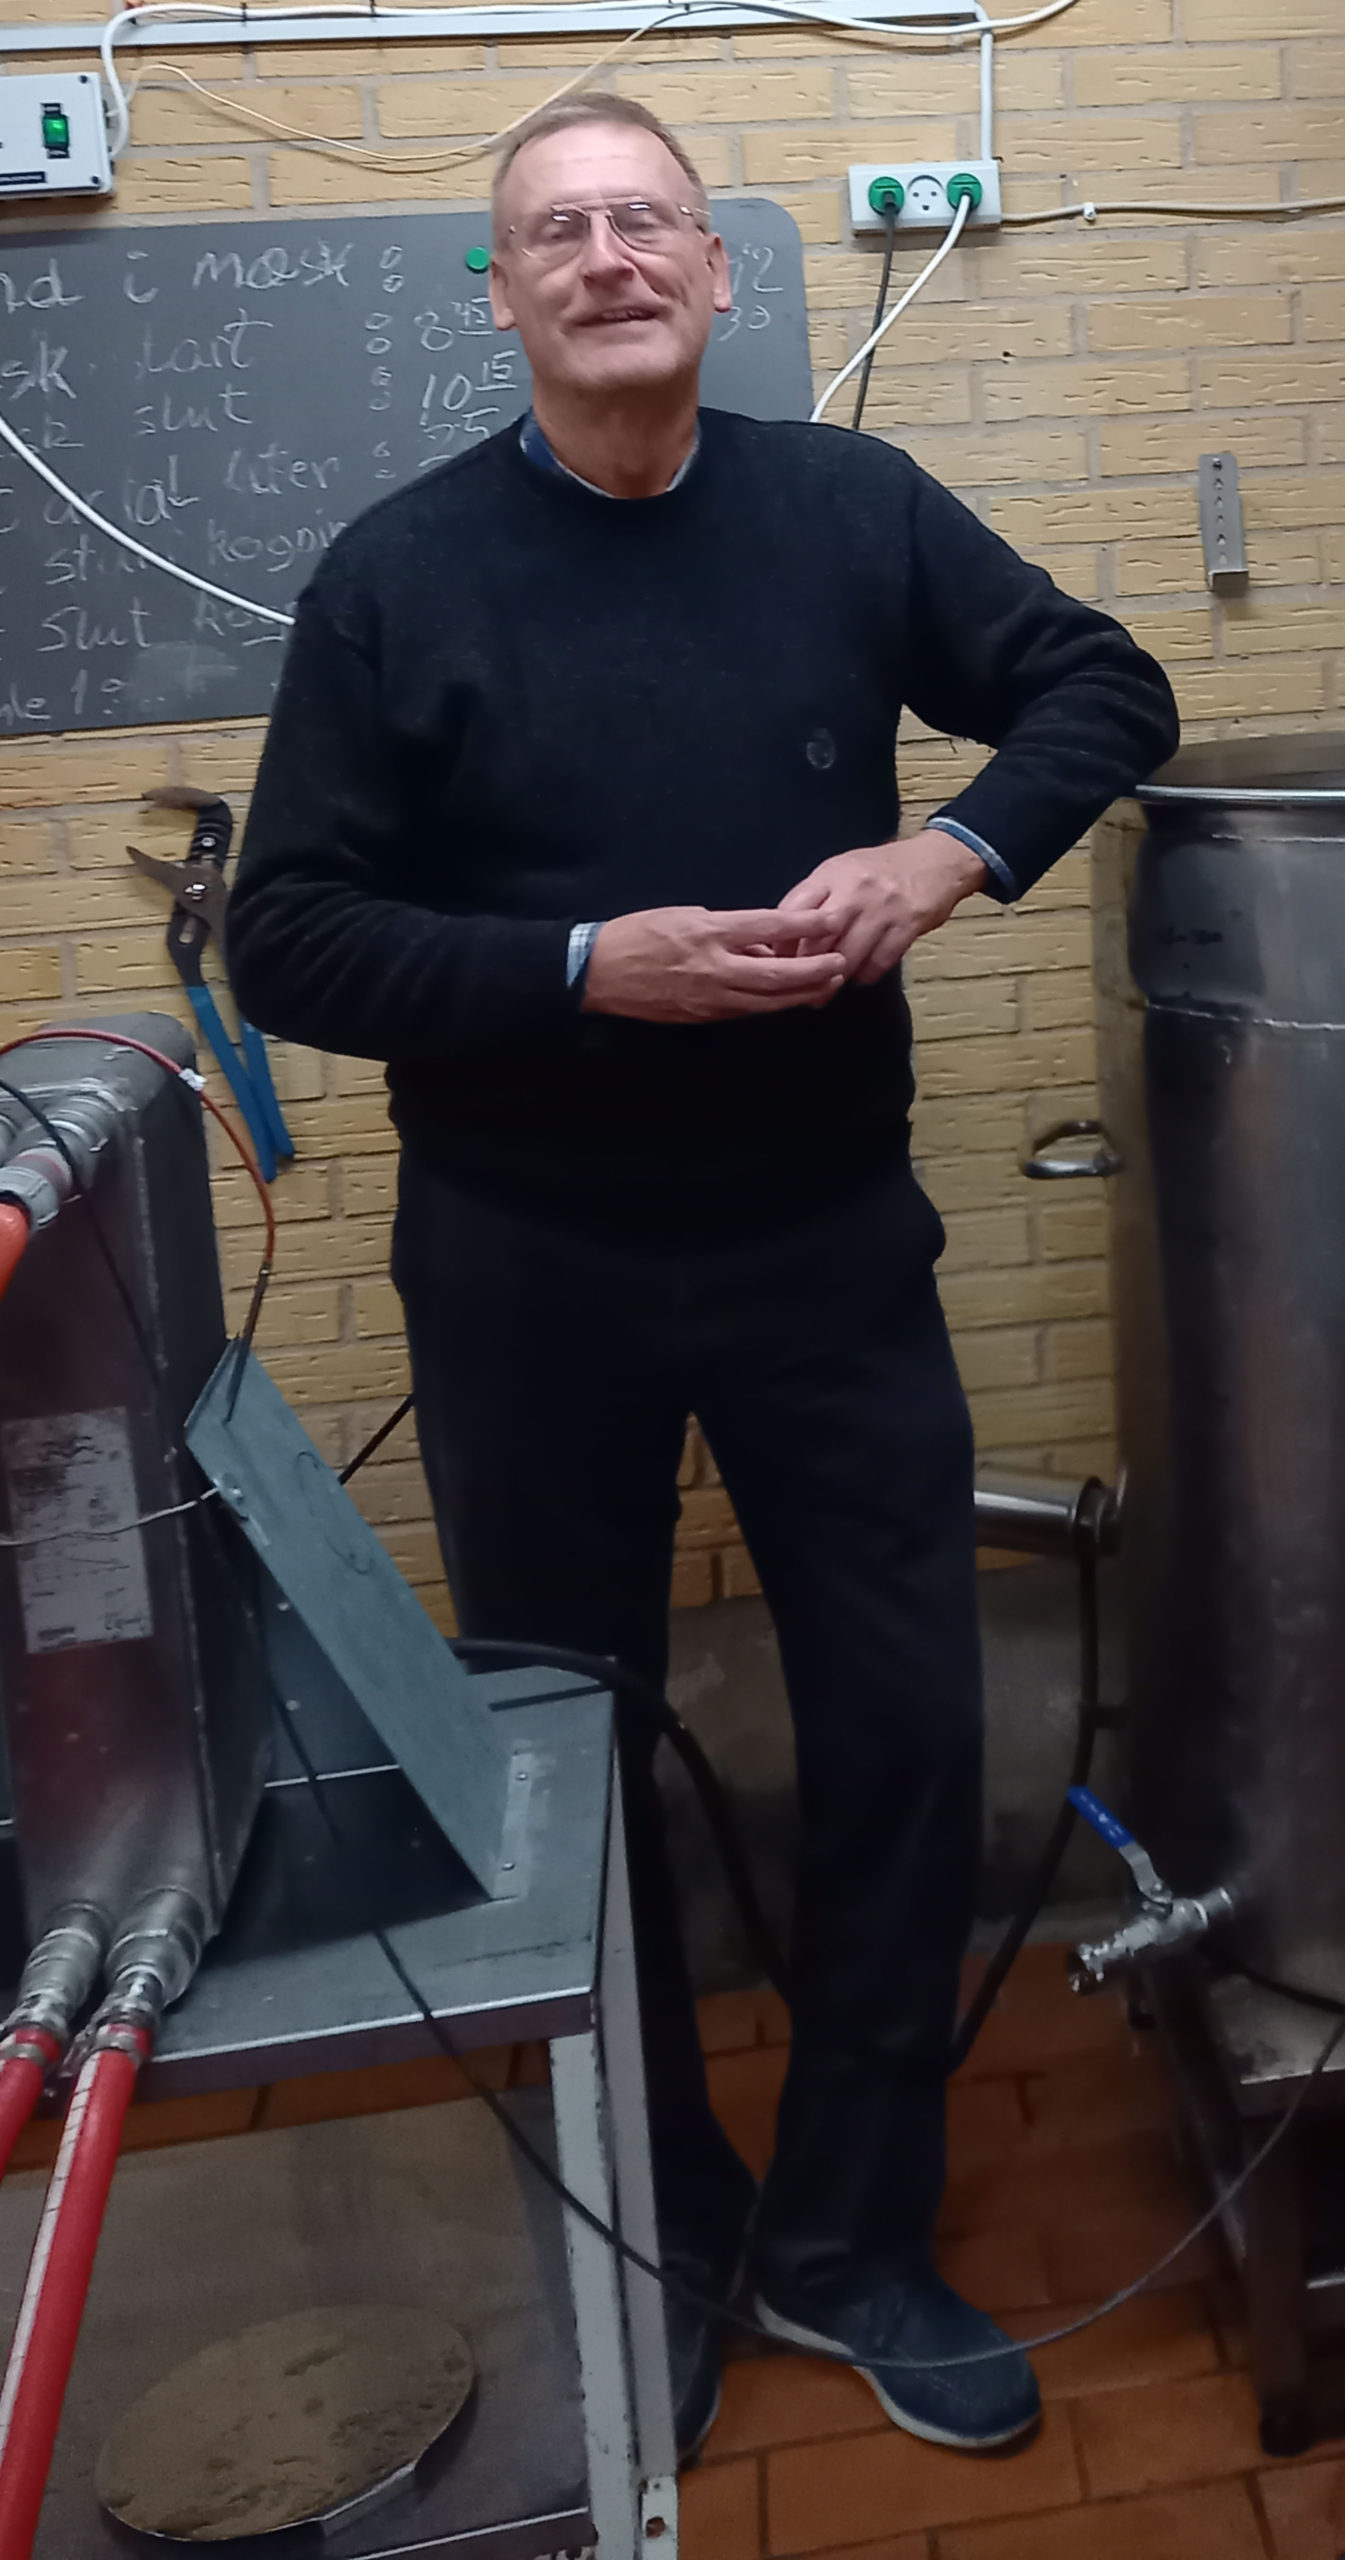
Bernd Fuglsang was educated in Germany, and has spent a large part of his life setting up and launching new breweries in the Far East.
We met at the Beer Festival in Aabenraa, where he tasted our beer and we had a good chat about beer brewing at our stand. Bernd offered to visit Øster Løgum Bryghus and see if he could give us good advice and tips for even better beer brewing, which we absolutely could not refuse.
We went through:
Malt, malt quality and quality of rolling.
Mash profile, method and temperatures with their significance for mash quality and yield.
Sieving of mash and building up a filtration layer.
Mesh out and speed.
Wort boiling, whirlpool and clarification of wort.
Fermentation process and clarification of beer during fermentation.
We are very grateful for the many hours we spent learning, and for the positive approach Bern had to us hobby brewers, and of course would like to visit as much as Bernd wants.
After the course, we received a comprehensive report on Bernd's input for the day:
In the following, I will briefly reproduce the most important topics I believe we had talked about or implicated during the brewing of Jeres Czech Pilsner.
- Malt
The hand sortings showed that there are too many small malt kernels in the malt from Castle Malt from Belgium. The grain distribution is too uneven and the other large malt kernels are too hard when you bite into them. This results in a too coarse grinding with too many half or even whole kernels. My advice is that you change the supplier and from time to time check the quality of the deliveries through a laboratory. You could keep the somewhat rough setting of the malt mill after you have changed the malt to a better quality. This should lead to a larger melandel and more whole shells. Then try to gradually open the rollers more until the shell proportion is suitable. - Mesh
As I said, in my experience it is only necessary to ensure that the brewing water is in order and that it is adjusted with, in your case, lactic acid and CaCl2 (?). Selve mæsk-pH’en kan meget gerne ligge mellem 5,4 og 5,9. Derfor tror jeg at en ekstra mælkesyretilsætning til mæsken ikke er nødvendig. En højere mæsk-pH og en højere urt-pH under kogningen fører til en rundere og blødere øl smag.
Program progress: The mashing at 62 ºC went well and the gas flame under the mash vat was able to maintain the temperature. It was good that we could switch to the low container outlet and from there could pump back to the surface also during the mashing and not only use this outlet during the clarification. That way, during mashing, you can prevent the temperature under the sieve bottom from becoming uncontrollably hot. Therefore, my advice is that in future you also use this recirculation during mashing with full pump flow. The pipework must also run all the time to ensure the best enzyme action and help with a further dissolution of the large malt particles. After emptying the sieve vessel, it turned out that there were not many sludge residues left in the bottom.
If you want to have more control over the residues that will lie under the sieve bottom, you could, for example, using the second, slightly higher outlet on the right, with a bend or a small steel tin plate, direct the herb jet tangentially along the tank wall to get the space under the sieve in rotation and thereby rinsed clean.
The heating of the mash after the 30 minutes at 62ºC up to 72ºC was a bit slow and took well over half an hour, i.e. with 3 minutes per degree Celsius. But that is perfectly fine and it gives an even longer and thus better activation of the Beta-Amylase, which should lead to a higher degree of fermentation of the beer that is aimed for. An extension of the 30 minutes at 62 ºC to up to one hour may also be a good solution in the future.
After the 72 ºC plus 10 minutes of rest, we did the first iodine test to check the sugar content. Here the coloring was still a little black (= iodine positive) and we repeated the test after another 10 minutes and again 10 minutes. After this, most of the larger particles were almost iodine negative. To be sure that starch has been converted into malt sugar as far as possible, you can add an extra 15 minutes to the 72 degrees even after you have tested iodine negative.
Jodopløsningen kan man købe i apoteket. Den hedder Lugols Opløsning og er en blanding af Jod og Kaliumjodid i et bestemt forhold.
The heating to the mashing temperature of 75 to 78 ºC was a little slow. But this is also not a big disadvantage. After the 75 degrees had been achieved, we started with the clarification. - Disclosure
The gas burner is switched off, the pump is stopped and the pipework is stopped. In the following at least 15 minutes, the mash cake must be given the opportunity to settle and thus be prepared to form a good basis for the construction of the filter layer. In the future, after stopping the pipework, you could level the cake surface with a small shovel (on the back of the corresponding steel blade). But make sure you don't press the cake down with the shovel.
As soon as the cake has settled for the 15 minutes, we started the pump with the control valve closed and then opened the valve slowly and carefully and only slightly until we got a medium-sized jet of herb up to the surface of the mash. This flow proved to be adequate and by distributing recirculated over the surface we made sure to build up the filter layer evenly distributed over the surface. A good rule of thumb for setting the pump performance is a drop of 1 centimeter per minute. Lowering the watch mirror too quickly can lead to cake contraction with flow stop as a result. Therefore, be patient. A clarification can normally last up to 2 hours and more.
The recirculation took quite a long time and we could not quite arrive at a clear herb. This was definitely due to the quality of the malt. We chose to accept this for the time being and switched the outlet to the bottom inlet to the wort kettle and continued with the same pump performance to fill the wort kettle. A good thing would be if in the future you could use the reinforced transparent tube to better control the clarity of the herb during the entire clarification procedure. That way you can avoid using a sight glass. You should also acquire a vacuum gauge for mounting in front of the pump with a scale down to 0.3 bar underpressure and up to 0.8 bar overpressure to avoid overpressure shocks with damage to the manometer.
Eftergydningerne med 78 ºC brygvand begyndes så snart de første topper af kagen falder tørt (ca. 1/3 af overfladen eller mindre). Mængden af en enkel eftergydning skulle svare til ca. 5 centimeter spejlforhøjelse. Dette gentages så ofte (3 til 10 gange) indtil den beregnede og forberedte vandmængde er brugt og urt kedlen er fyldt op. En eftergydningsvandtemperatur på 80 grader er for højt.
Because we had prepared the filter cake appropriately, it was not necessary to cut the cake. If in the future you are ever going to make use of cutting the cake, then this must be done with a knife (only 10 to a maximum of 20 cm in depth) and in a dry cake with a distance of 10 cm distributed over the surface. In this way, you increase the filter surface with a subsequent large watering, building up the filter layer as described and recirculating the herb until it is ready again. The filter layer is built up in the upper part of the cake and we could clearly see this after we started emptying the sieve vessel and could examine the cake.
If possible, you should ensure that the cake has run dry when the herb kettle has reached its filling. We also measured the concentration of the very thin residue from the sieve vessel. It was at 2ºBrix, which is perfectly fine. Anything below 3ºBrix is fine. - Wort
As you do, you can continue heating the herb even if the kettle is not full. After filling the herb kettle, there was a fine and compact layer of foam on the herb surface. Because you have an open boiler, we could easily remove this layer of foam with a spoon. You should continue this in the future.
Due to the much better malt utilization due to our initial measures, the kettle-full concentration of the wort became quite high. Therefore, we could not do a strong boil in order not to get too high an alcohol content in the finished beer. The goal was a 6% beer. After 60 minutes of cooking time and a total evaporation of approx. 12 litres, which is at the lower end of what was desired, we got an OG of 1065, which is quite high for a lager. But OK.
Det viste sig at man godt kan arbejde med det gamle (ikke italienske) gasblus og de to varmelegemer under kogningen. Til en bedre iltforsørgelse af flammen vil I bore et eller flere huller i midten af bundpladen.
The three hop additions with Perle and Saaz hops worked fine and we didn't get any overcooking of the wort. This was probably also due to the reduced cooking intensity in our case.
Adding your gel is perfectly fine, but you can omit the addition of extra yeast nutrition (amino acids). Everything the yeast needs is in the wort and comes from the malt. Only large breweries with production under time pressure need extra yeast nutrition. And when you use a raw fruit proportion with well over 20% of the extract, the use of extra yeast nutrition may become a necessity. - Whirlpool
In the last minute of the boil, we actually forgot to add the lactic acid in order to set a herb pH to the desired 5.0 to 5.2. However, we added 20 ml of lactic acid (83%) after the Whirlpool function. Before the addition, we had measured a pH of 5.24. We should therefore be well below the 5.2 in the end in the tanks before the addition of yeast.
After boiling stopped, your Whirlpool pipe was placed and the pump connected to the bottom outlet. It took quite a long time for the herb to come to a complete revolution. After we stopped the pump, the rotation slowly slowed down. Here, during the decreasing rotation, the effect begins with the desired inward flow on the container bottom (teacup effect). A rule that we also followed here is that as soon as there are no more clouds of particles coming up in the middle of the surface of the herb, we calculate an extra half hour to be sure that the particles have fallen to the bottom.
Then we started the wort cooling down to the three tanks with approximately 100 liters per tank. The first and third tanks were given a root temperature of 10 ºC. The middle tank was a bit too hot at 20 degrees.
The empty herb kettle showed that the bottom ring had collected approx. 80% of the sludge. The remaining 20% outside the ring can be lived with. - Fermenting
The yeast addition went as usual according to your method. Maybe in the future you can reduce the amount of liquid. Couldn't you use much less wort with a higher malt sugar concentration instead? If the yeast is grown at a wort concentration of say 20% Brix, this should not be a problem for the yeast.
In order to "cleanse" the beer right from the start of fermentation, it is also very important that you take the sludge out of the cylindro-conical tanks immediately. A good method would be to do this on day 1, day 3, day 5 and also again later and each time as much until no more dark sludge comes out. This applies to both top- and bottom-fermented beers. When the main fermentation is finished, the large amount of yeast is also removed as early as possible in the same way. Also during storage, the deposited yeast cells and particles must be removed regularly. If you make top-fermented beers, you could mash harvest (in this case remove) the yeast from the surface after the main fermentation (4-5 days), since you now have the tanks with the lid on, where it should be easy to do. This prevents the yeast cells from being "forced" down into the cone, where they cause damage by affecting the taste negatively. It was a great pleasure to be part of this brew. Many thanks for the box of your lovely beers. I will taste them next time. If you have any questions, just ask. And if you want to make that new brew, I'll be happy to come back to Øster Løgum.
Thank you Bernd for your kindness and time. We learned a lot.